Understanding Epoxy Flooring Installation: A Step-by-Step Guide
Epoxy Flooring Installation: Step-by-Step Guide

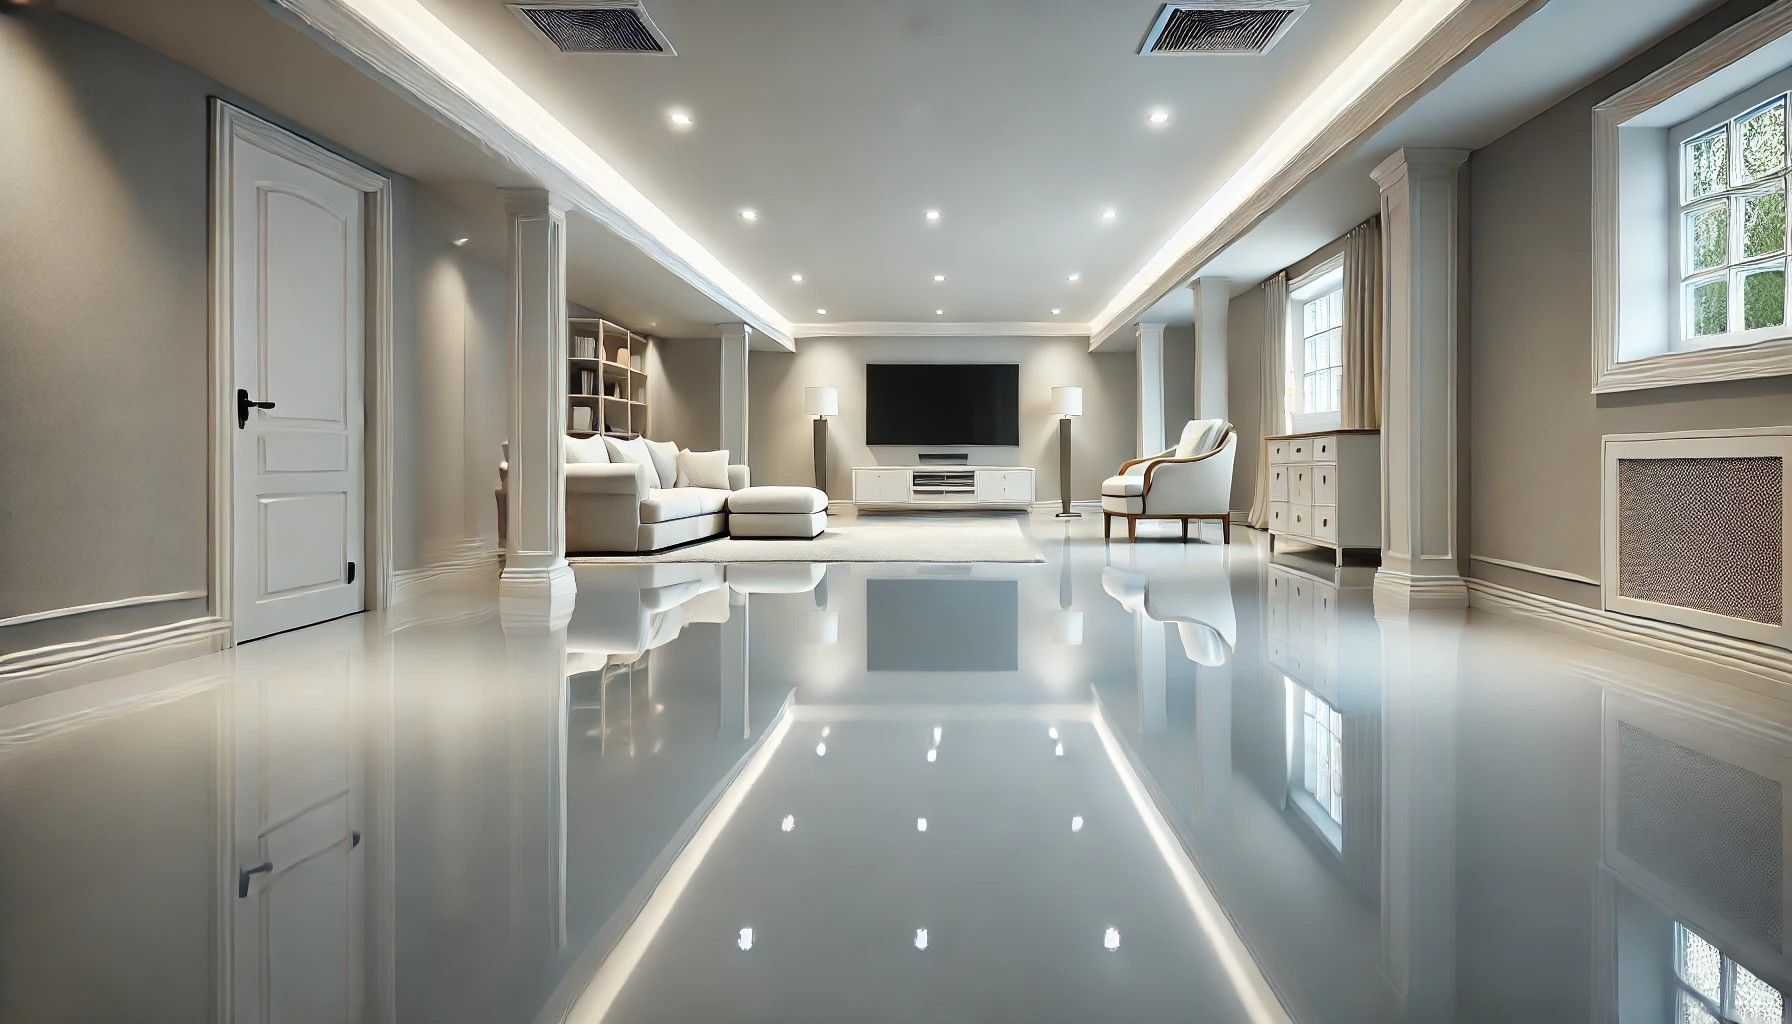
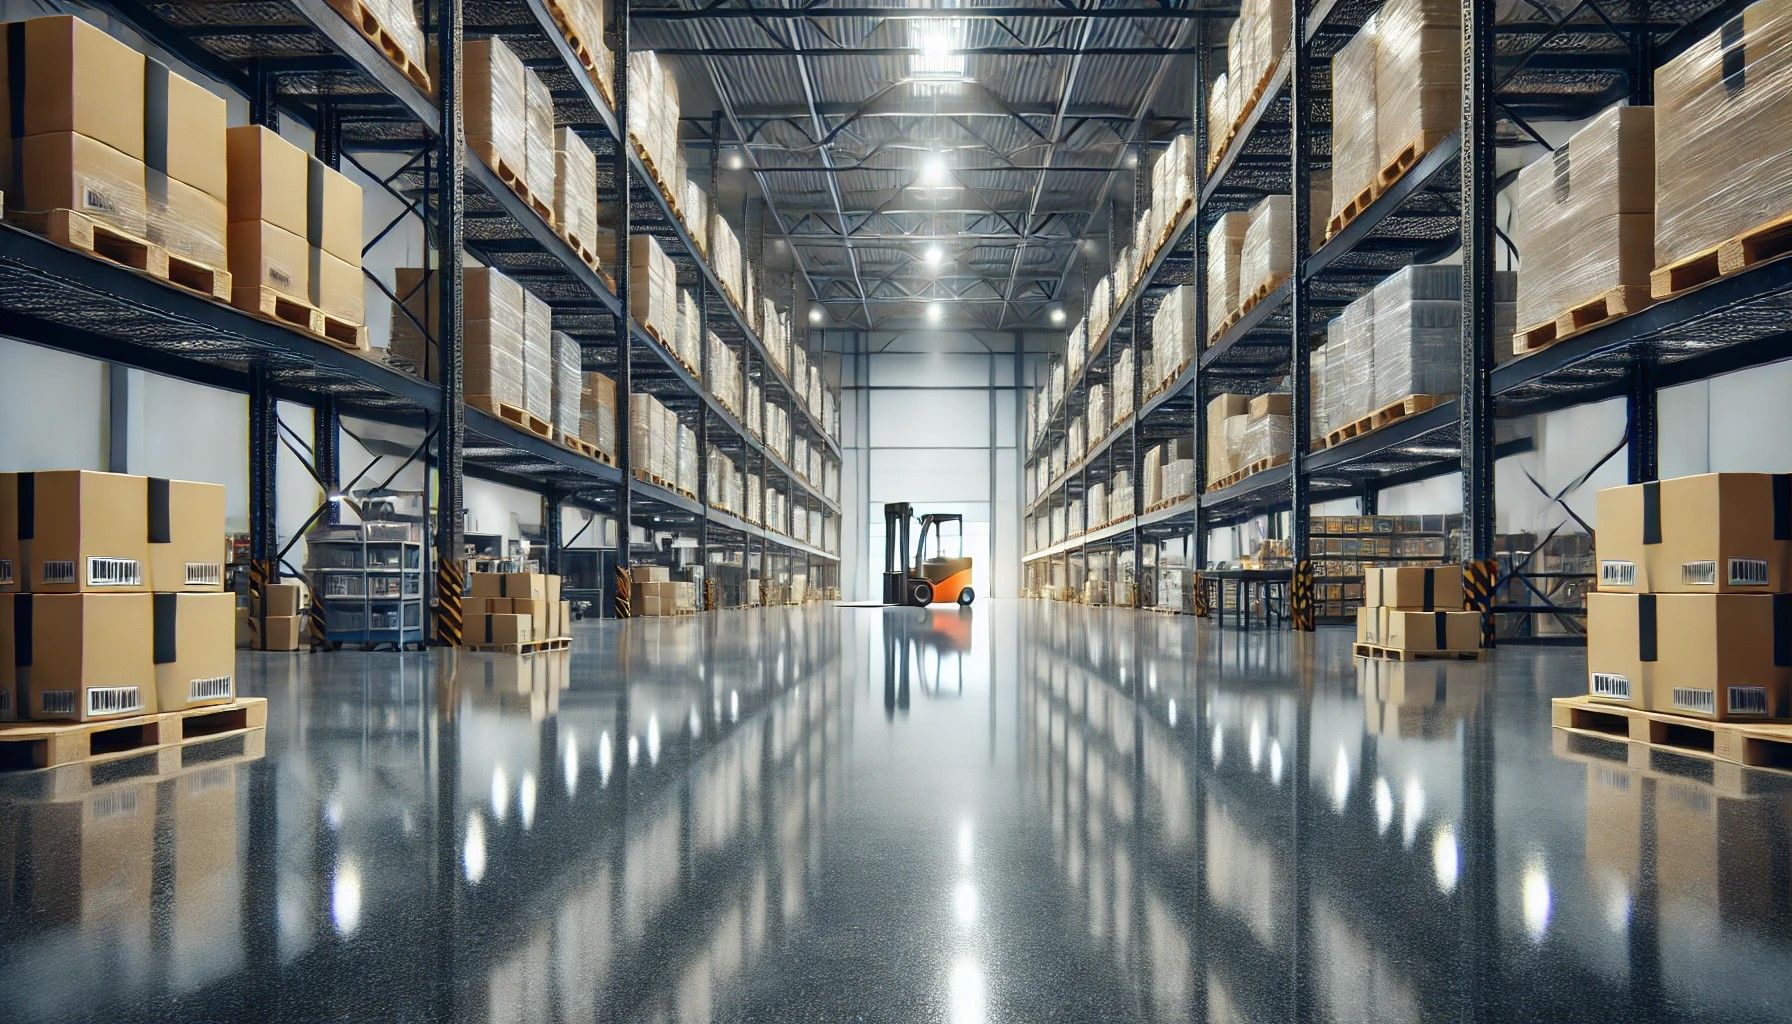
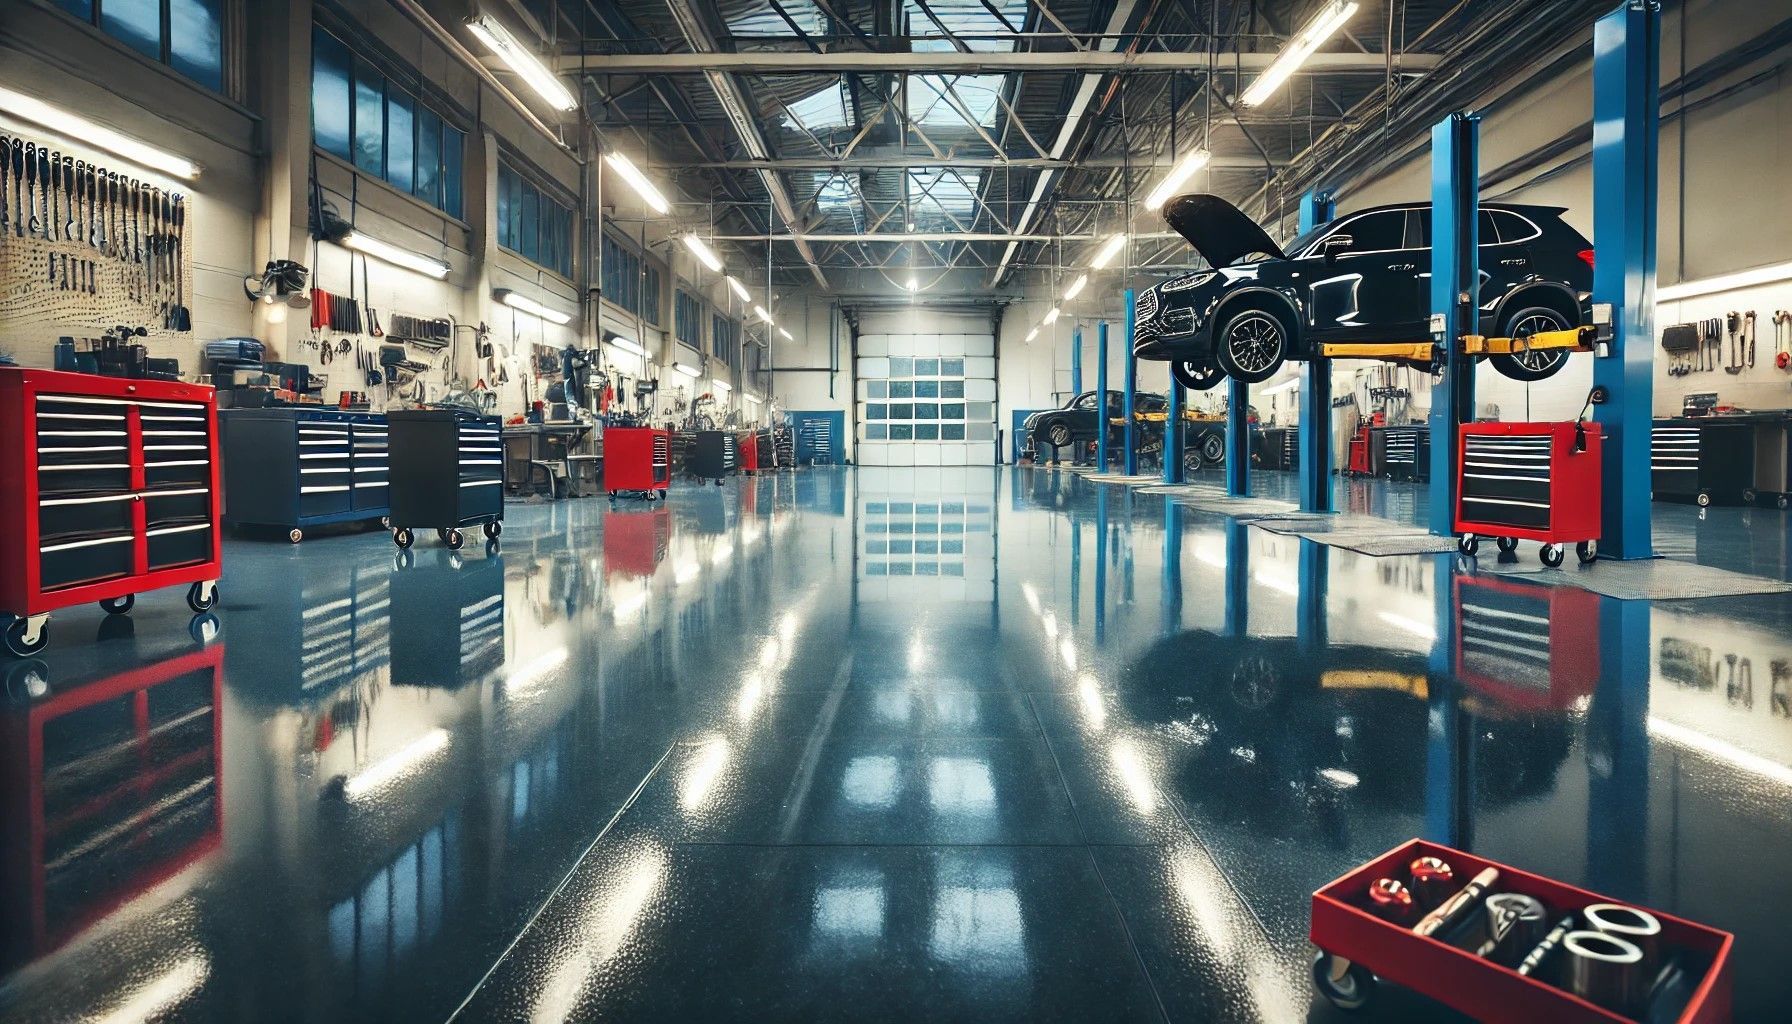
Epoxy flooring has gained popularity for its durability, attractive finish, and easy maintenance, making it ideal for homes, garages, and commercial spaces. If you're considering epoxy flooring for your space, it's helpful to know what goes into the installation process. At K&A Coatings, we’re committed to providing a seamless experience, from preparation to a polished finish. Here’s what you can expect at every stage of epoxy flooring installation.
1. Preparation and Floor Assessment
The first step in a successful epoxy floor installation is thoroughly assessing the existing floor and preparing it for the epoxy application. This step includes:
- Cleaning the Surface: The floor must be entirely free from dirt, oils, and other contaminants that might interfere with the epoxy adhesion.
- Repairing Cracks and Imperfections: Any cracks, holes, or rough spots are repaired, as a smooth surface is essential for a high-quality finish.
- Moisture Testing: If moisture is present in the concrete, it can prevent the epoxy from bonding correctly. Moisture testing is critical to ensure a lasting installation.
At K&A Coatings, we understand that proper prep is the foundation of a durable epoxy floor, so we prioritize it before moving forward.
2. Surface Grinding and Profiling
Once the initial cleaning and repairs are complete, it’s time to profile the concrete surface. This stage is crucial for enhancing epoxy adhesion.
- Grinding or Shot Blasting: Professional equipment like diamond grinders or shot blasters is used to roughen up the floor, creating a textured surface that the epoxy can easily bond to.
- Vacuuming Residue: After grinding, the floor is vacuumed thoroughly to remove dust and debris.
This step ensures the epoxy will penetrate and adhere securely, contributing to the coating's longevity and resistance.
3. Application of the Epoxy Primer
With the surface properly prepped, it’s time to apply the epoxy primer.
- Applying the Primer Coat: The primer helps the epoxy layer bond effectively and prevents air bubbles from forming in the finished product.
- Allowing Drying Time: The primer typically takes several hours to dry, depending on room temperature and humidity.
A properly applied primer sets the stage for the topcoat, enhancing adhesion and durability.
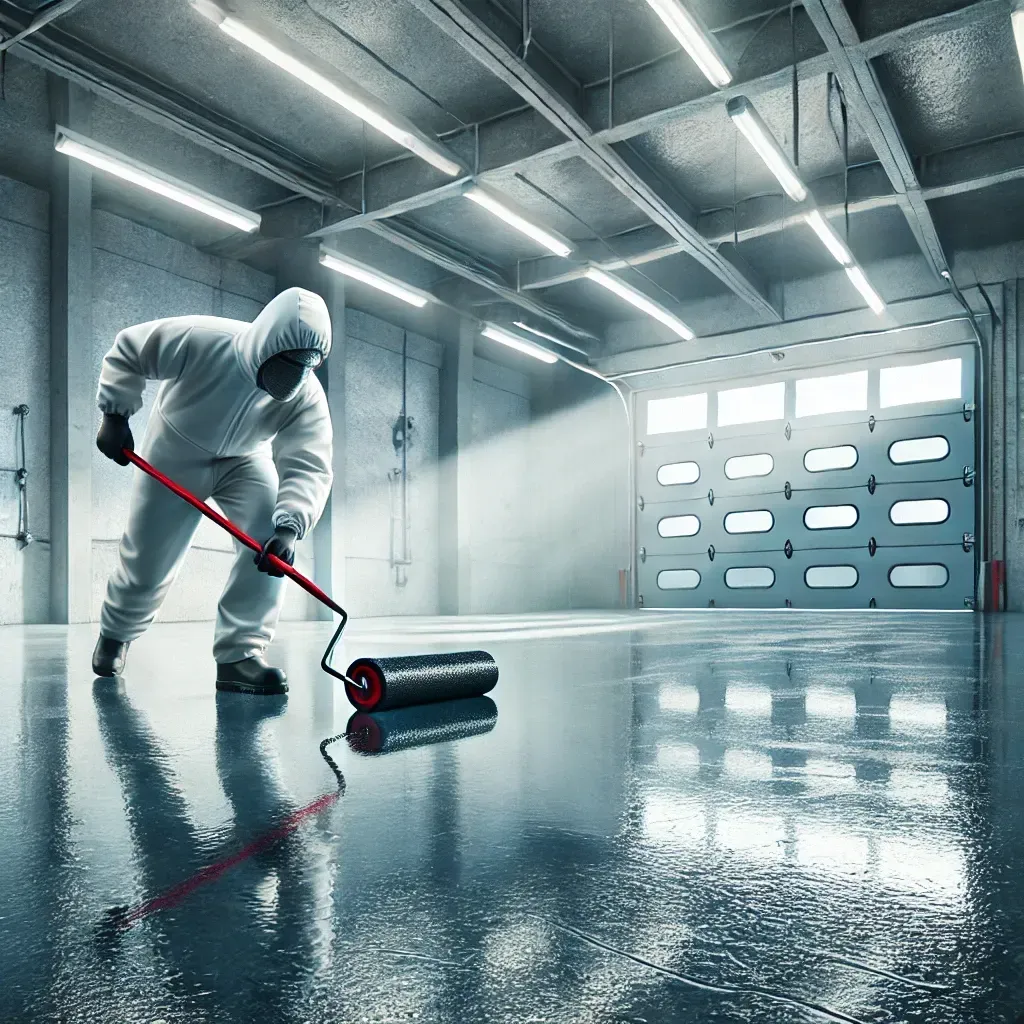
4. Epoxy Base Coat Application
Once the primer has dried, the base coat of epoxy is applied. This layer gives the floor its color and initial thickness.
- Mixing and Spreading the Epoxy: The epoxy mixture is spread across the floor, usually with a roller or squeegee, to create an even base layer.
- Adding Decorative Elements: If the client has chosen decorative flakes, metallic finishes, or colored patterns, this is when those elements are added.
At K&A Coatings, we offer custom options, from color to texture, to ensure your flooring matches your aesthetic and functional needs.
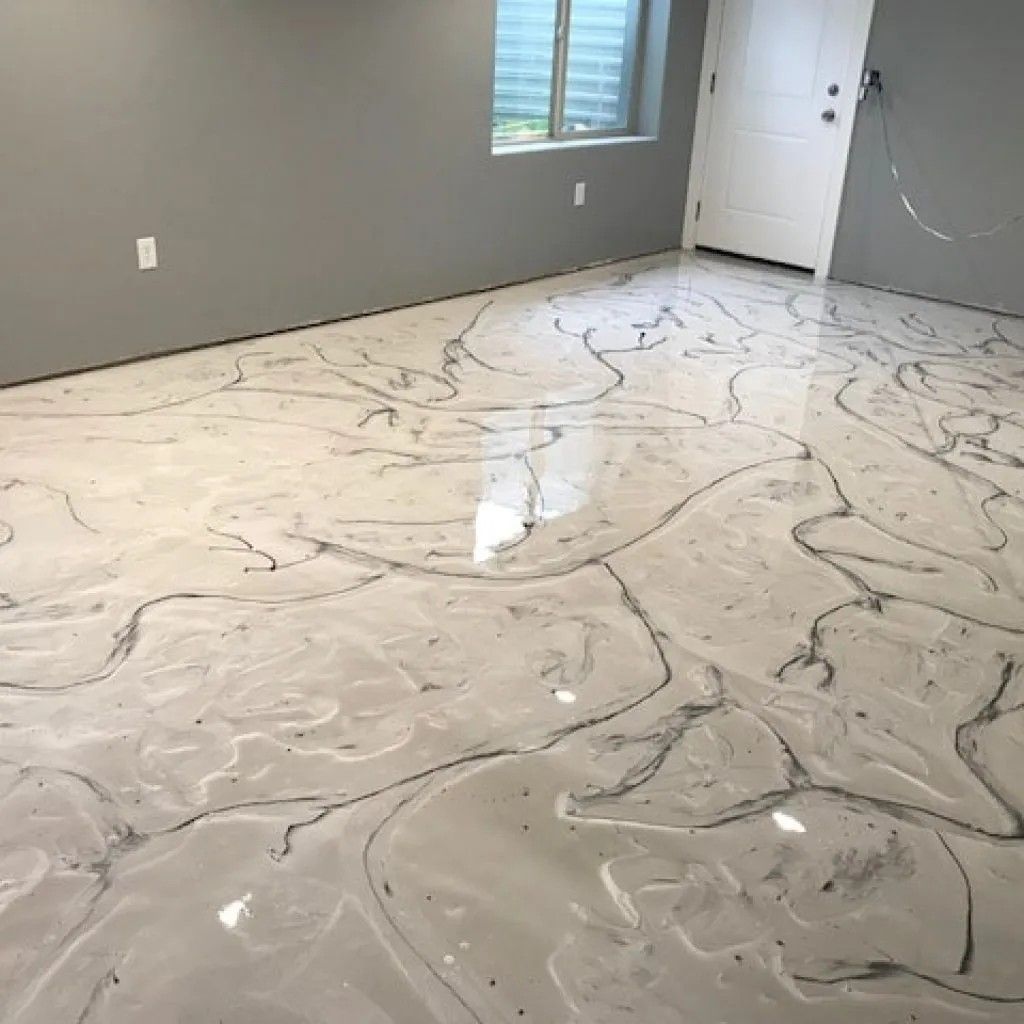
5. Optional Decorative Layer
Many homeowners and businesses prefer decorative flakes or metallic pigments to enhance the appearance of their epoxy floors. This is an optional layer that can make your floor unique.
- Broadcasting Flakes or Metallic Pigments: Flakes or pigments are spread onto the wet epoxy layer, creating a textured and visually appealing finish.
- Allowing Time to Set: This layer needs to set completely before moving to the next stage, which may require several hours to dry.
Decorative finishes add a stylish touch and can increase the floor's slip resistance, making it both beautiful and functional.
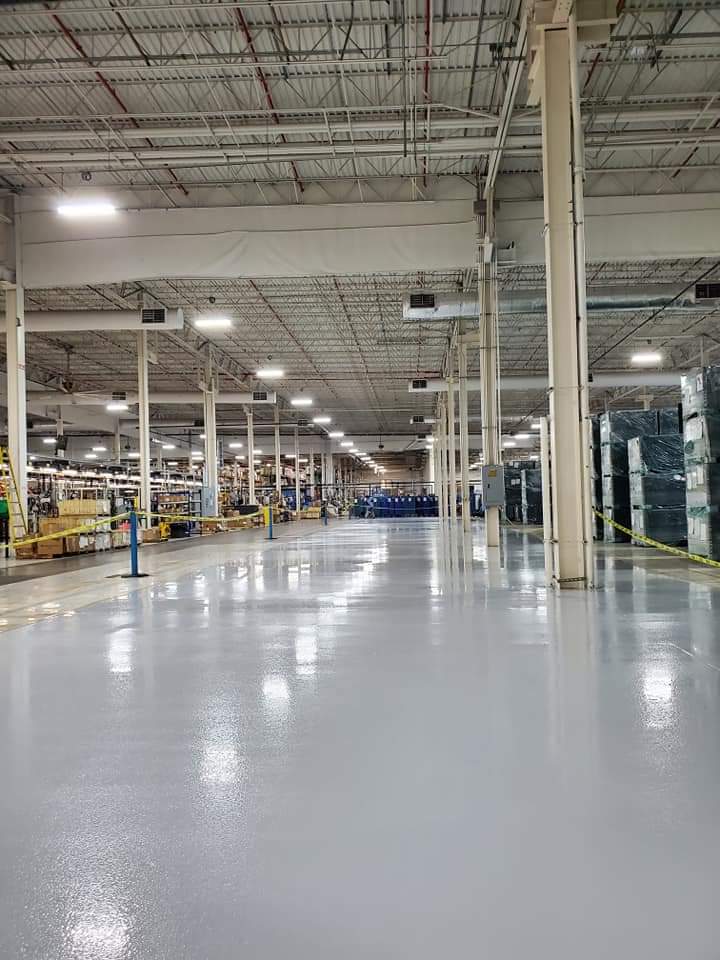
6. Application of the Clear Topcoat
The final step in the epoxy flooring process is applying a clear topcoat to seal and protect the entire surface.
- Applying the Topcoat: This clear layer not only provides additional durability but also gives the floor its glossy or satin finish.
- Curing Time: The topcoat typically requires 24–48 hours to cure before the floor can handle light foot traffic, and up to a week for heavy usage.
The topcoat enhances the floor’s resilience against wear, spills, and UV damage, resulting in a long-lasting, low-maintenance finish.
7. Post-Installation Inspection and Cleanup
After the epoxy has cured, the final inspection and cleanup ensure that your new floor meets your expectations.
- Inspection for Quality and Consistency: The floor is examined for any imperfections or areas needing touch-ups.
- Cleanup and Removal of Equipment: Our team ensures the space is clean and ready for you to enjoy your new epoxy floor.
At K&A Coatings, we take pride in delivering a flawless finish and leaving every site spotless.
The K&A Coatings Difference in Epoxy Flooring Installation
Epoxy flooring installation is a meticulous process that requires expertise, precision, and attention to detail. With K&A Coatings, you’ll benefit from a team committed to high standards and customized solutions, ensuring your epoxy floor is both beautiful and resilient.
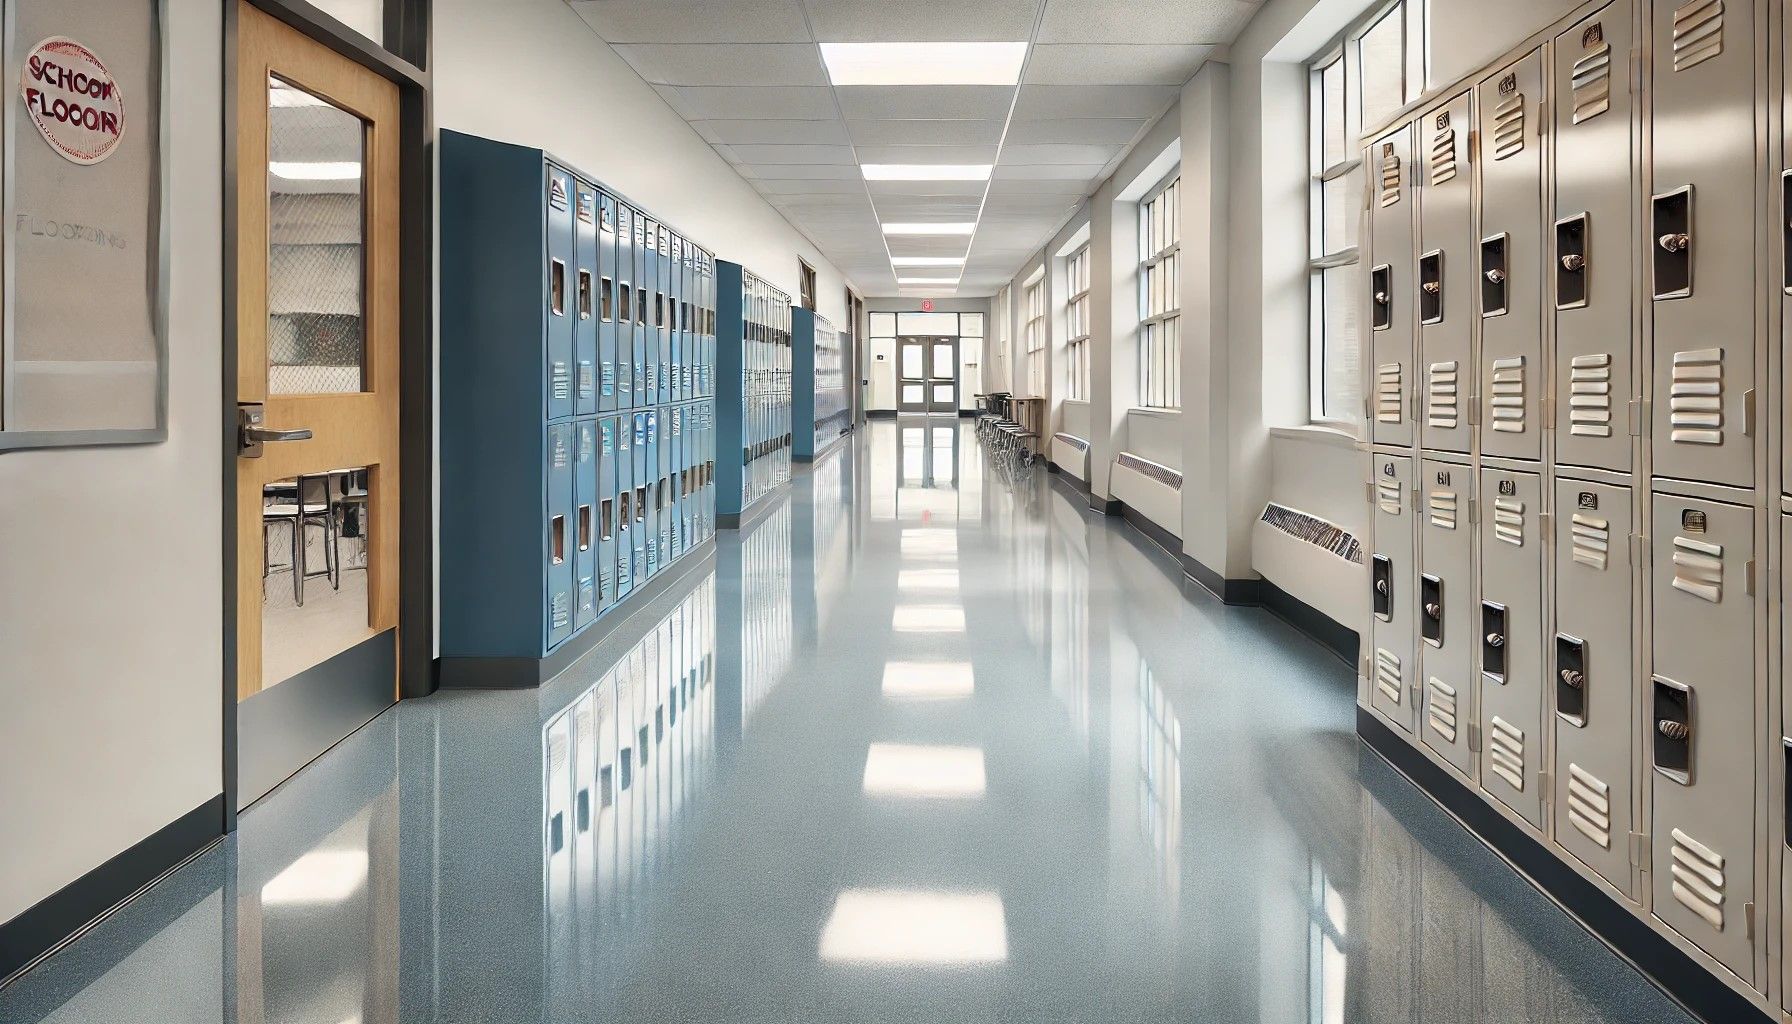
Whether you need epoxy for a garage, basement, or commercial space, we’re here to help. Contact K&A Coatings today for a consultation and discover how epoxy flooring can enhance your property!


Share On: